
Its always been my experience that raw snapshots taken in Second Life are not as focused as they could be. They tend to be slightly undefined. Taking snapshots with the Black Dragon viewer makes a difference, but can be very impactful on PC resources. Whichever viewer you use, knowing how to sharpen a Second Life photograph is essential, as its one of those select tools that can help make your images pop.
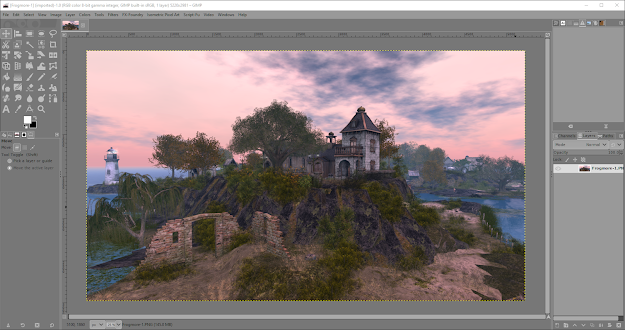
The image used for this tutorial was taken at Frogmore, a very picturesque sim where all Second Life photographers will find something to inspire them. The destination guide describes it very well:
Frogmore is a natural, photogenic, and fully immersive experience inspired by historic Cornwall, England, bordered by the Celtic Sea and the English Channel. Frogmore is rated Moderate and open to the public; please join the free group for rezz rights and enjoy the lavish experience of the Cornish Riviera.
Sharpening A Second Life photgraph With The High Pass Filter In Gimp


 |
| This image is here so it will be the thumbnail on the homepage. Blogger is rubbish. |

5/ This window will open. The Mode drop down menu offers different desaturation types. Here Lightness (HSL) has been selected.

6/ The desaturated image will look something like the above.

7/ With the desaturated image still the active layer, select Filters > Enhance > High Pass...

8/ The top layer will look something like the above, and the High Pass window will be open.

9/ Set a value for the Dev option. Here 15 has been selected. A little intuition is needed here because a few things will affect how much or how little high pass to use. Image size is one factor that may influence this.

10/ The level of detail shown in this high pass layer looks about right.

11/ Click on the Mode drop down button to the right, highlighted above in red.

12/ From the drop down list select a blend mode. The section beginning with Overlay and ending with Hard Mix are the blends that work well with the high pass filter.

13/ Here, hard light is the blend thats been selected.

14/ Your image should now be much sharper, although it can be tweaked a little more. If you want to sharpen the image even further the high pass filter layer can be duplicated, the blend mode can be changed, and the opacity adjusted.
To see the difference the high pass filter can make, below is the before and after. Click to enlarge if you need to.

Before....
After.
The effect may not be too dramatic here, but this is a very flexible method for sharpening images, and you're free to play around and experiment.
We hope you've found this tutorial useful. If so bookmark, like us on Facebook, and generally subscribe.


